To bake a great loaf of sourdough from scratch, you need a strong and active starter!
Baking sourdough from scratch isn’t difficult if you have a strong and active starter! A little patience and willingness to experiment is helpful too!
If you do not have a sourdough starter but you want one so you can make your own from scratch bread, I can send you a bit of my starter. Simply let me know in the comments that you are interested and we can work out the details!
When I first mixed up my sourdough starter, I was creating a stiff starter made from ancient einkorn wheat. Einkorn has more protein, B vitamins, and minerals than modern wheat. It also has a wonderful flavor!
Einkorn has a weaker gluten structure making it easier to digest. Because of this, it may be consumed by folks with gluten sensitivity.
Another perk of einkorn is that it has not been hybridized, or crossbreed to fit the needs of the food industry. Ultimately, making it a healthier option.
I have transitioned my starter a few times
After a few months, I decided to shift my starter over to organic, unbleached all-purpose flour. My reason for this was to keep the cost of my new venture down. During this time, I also decided to turn my stiff sourdough starter into a liquid starter(higher hydration) that I would keep out on the counter and feed twice a day. I was hoping this would make my starter stronger!
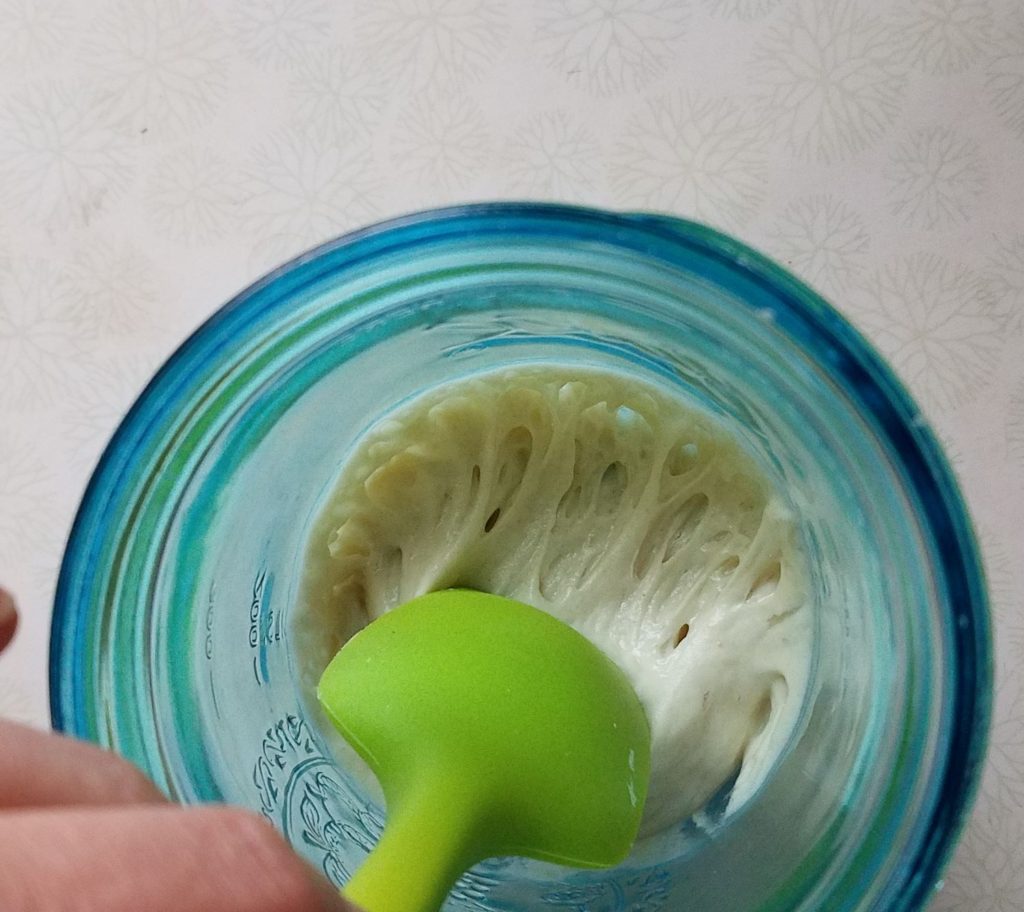
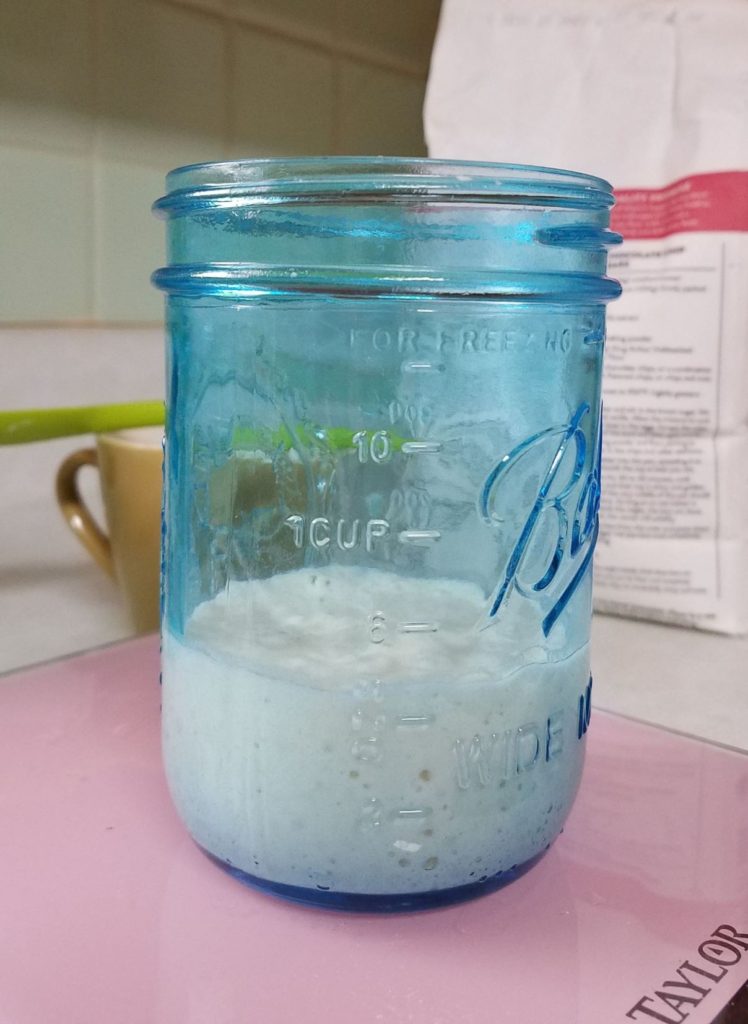
Notice the air pockets & how the starter clings to itself, this indicates a happy starter 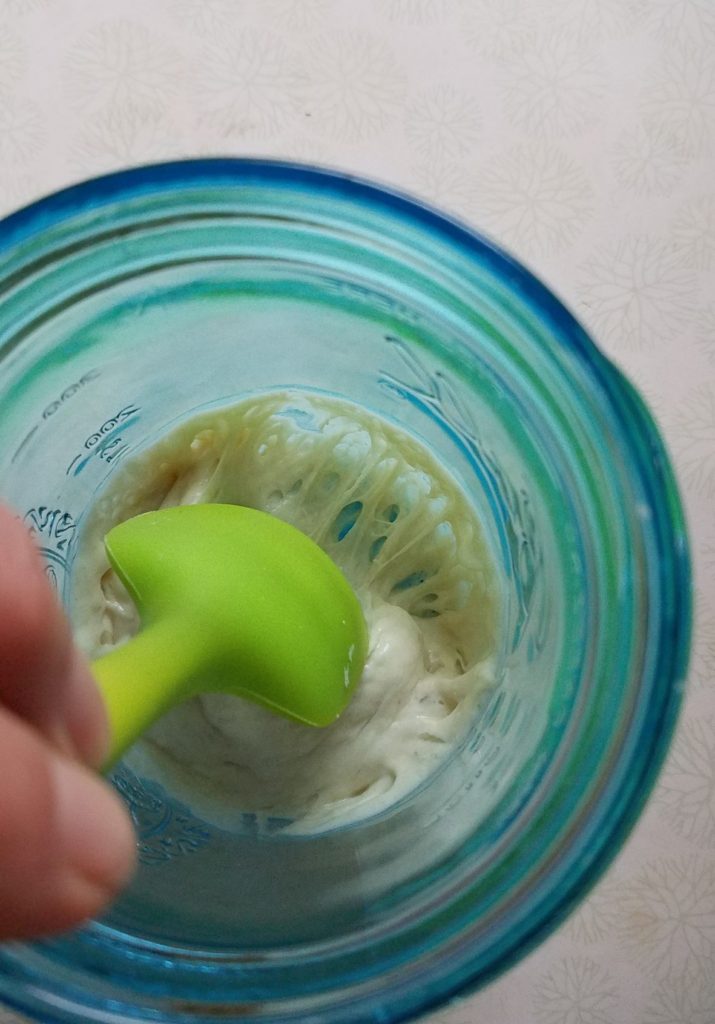
More air pockets & starter is attached to side of jar
I was storing my starter in the frig between my weekly loaf baking day. I had it feeling that was hindering its growth because my loaves were not rising or baking as light as I knew they could be.
Fast-forward another couple of months of feeding twice a day and I was up to my ears in discard!! Discard is a portion of the starter that you remove at each feeding. Discard is not bad, you can use it to create many tasty recipes! However, if you never discarded some starter, you would have gallons of starter!
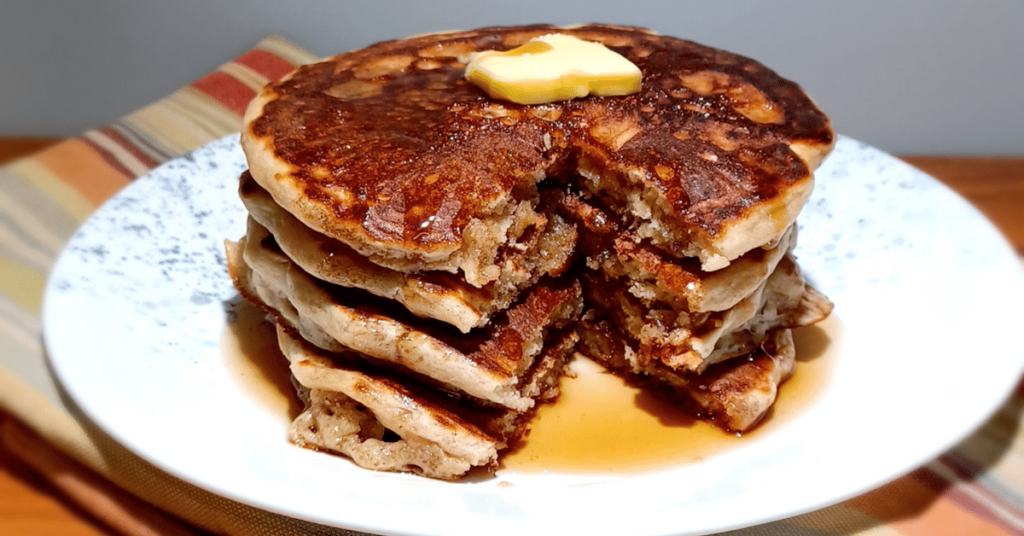
I was stumped with what I was going to do with all the discard…pancakes are great but we do not eat them every day! Plus, I do not have the additional free time to bake something daily….hello, toddler mom life! Something needed to change.
How could I keep my starter active and have less waste?
I wanted to keep my starter lively. There had to be something I could do about all the extra discard. I was not using it all, I am not composting(yet!) and I was really starting to dislike all the waste. It was a waste of flour and money to just put it outside for the area wildlife to enjoy.
After some internet searching, I found this article on The Perfect Loaf for keeping a small starter. It was exactly the info I was looking for!
Next time I feed my starter, I reduced my starter size. Keeping an eye on it to make sure that it was maturing within 12 hours, a sign that I had the correct ratio of starter, water, and flour.
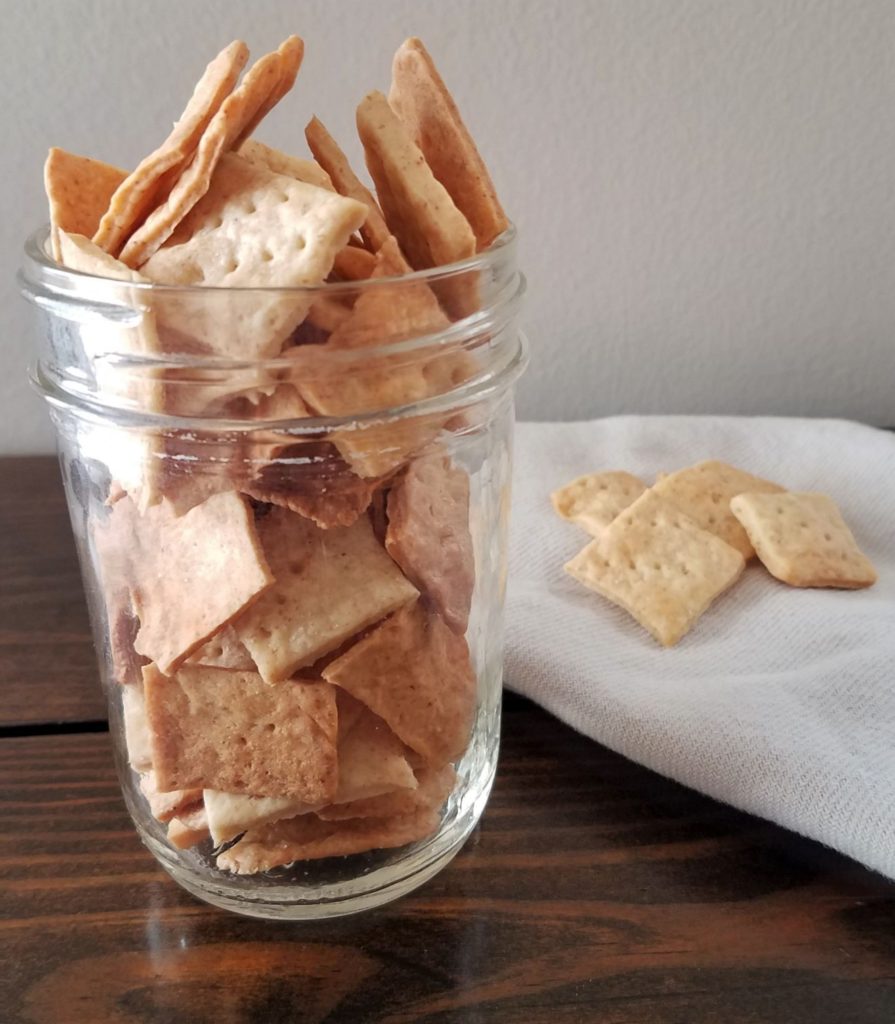
After a few days, I know this sourdough starter maintenance routine was for me!! I had a strong starter and minimal amount of discard. After a week of feeding twice a day, I had a little over a cup of discard, just enough for a batch of crackers or pancakes.
What you need to maintain a small sourdough starter
You only need a handful of items to keep your starter healthy and lively!
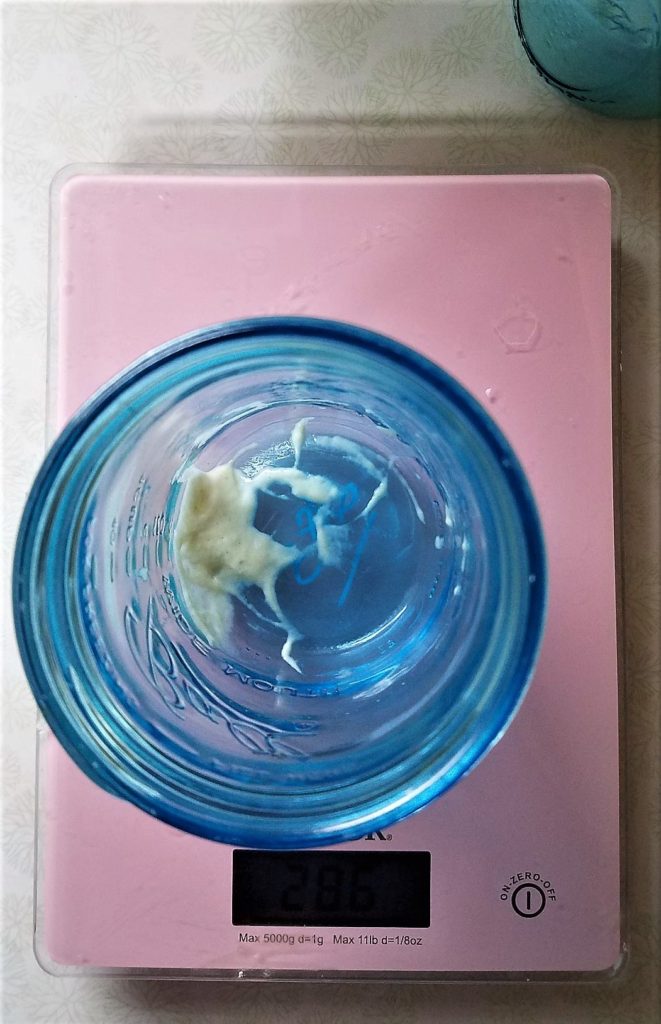
- Kitchen scale
- Small silicone spatula
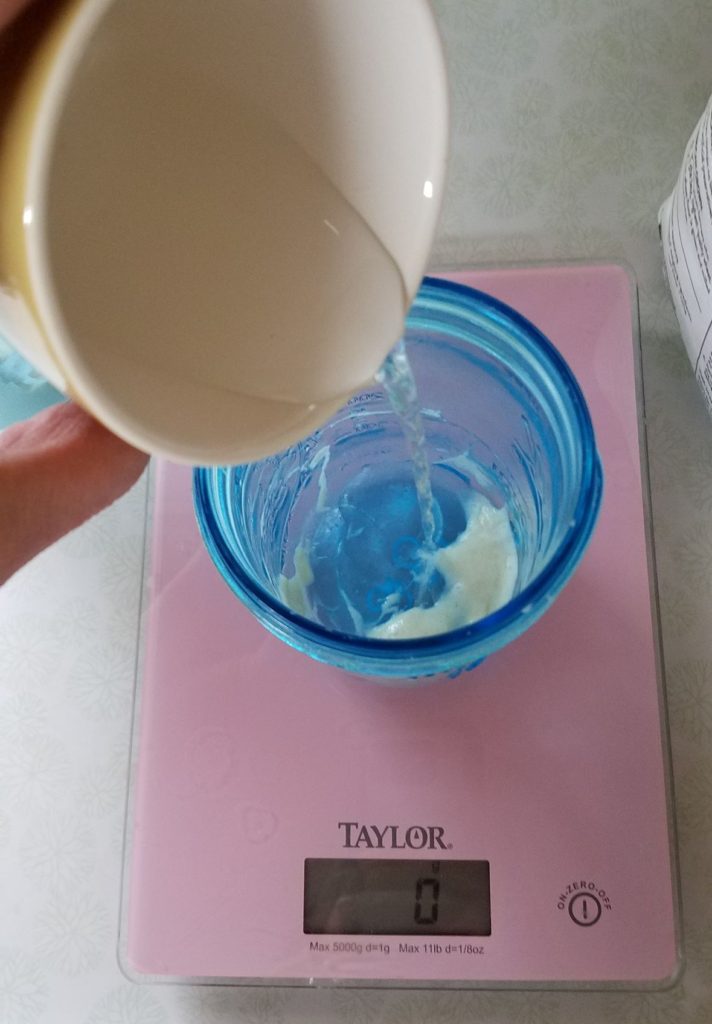
- Filtered water – water free of additives, things like chlorine can inhibit the growth of your starter
- Flour – you can use a wide variety of flours, like rye, whole wheat, or organic unbleached all-purpose.
- A feeding routine that works for you!
Feeding a small sourdough starter
With a silicon spatula, remove all but 5 grams of starter.
To the starter, add 25 grams of water.
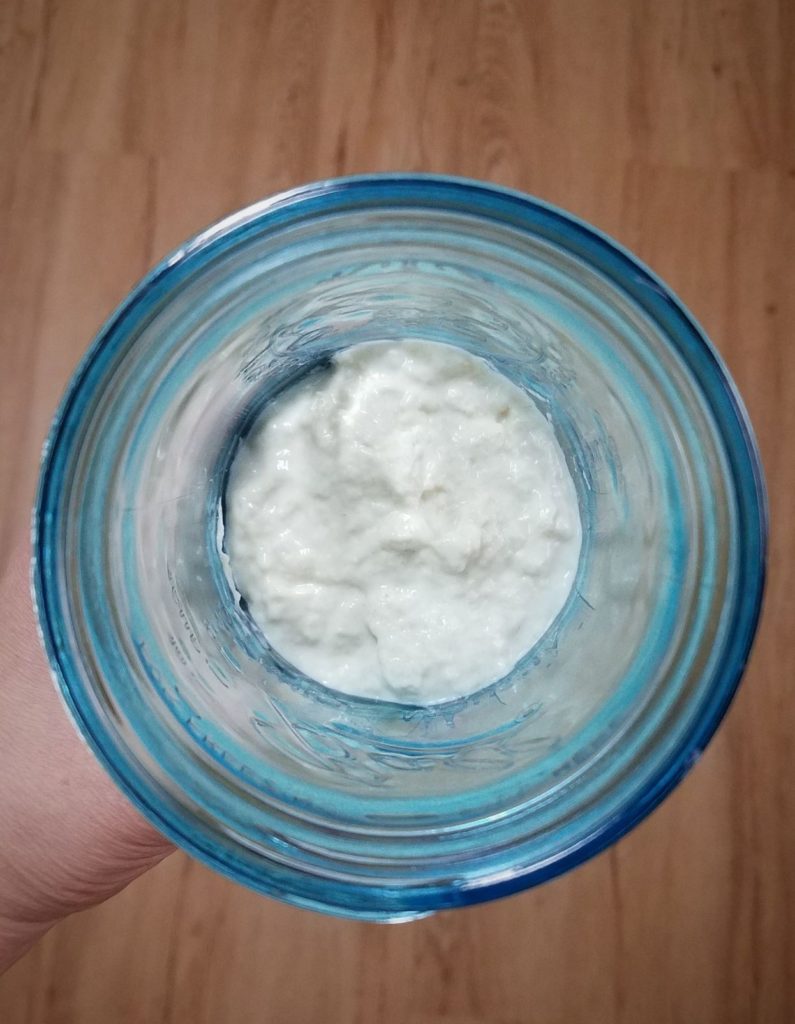
Next add 25 grams of flour.
Stir until all flour is incorporated giving you have a smooth consistency. Really get in there and give it a good mix!
Cover loosely and return the starter to its cozy home.
Repeat the process in roughly 12 hours or when the starter reaches its peak and has begun to fall.
Helpful Tips
Ideally, you will want to feed a small sourdough starter twice a day. Find a routine that works for you. I feed my starter at breakfast time and sometime after supper before going to bed.
My starter lives in a Mason jar. That is what I have on hand! I am all about using the things in my home if I can. Do not feel like you have to have a fancy vessel for your starter. But you totally can if that makes you happy!!
Speaking of using what I have on hand, I use a canning lid to cover my starter. It works perfectly because it prevents dust from entering while still allows for some airflow.
No matter what vessel you decide to use, weigh it empty and write the weight down. I like to just put it on the bottom of the jar. By doing this you know what your total weight will be with the vessel and the 5 grams of starter. This makes the whole processer easier and quicker!
Find a warm place in your kitchen to house your starter. A fairly even temperature location between 65-75 degrees is ideal. Personally, I keep mine on top of the frig. Currently, it is ridiculously cold so I have moved it to the pie chest we have in the dining room. It stays just a bit warming in there.
You can keep the discard in a separate jar in the frig, accumulating it until you have enough for your favorite discard recipe. I have found that I can keep it up to 2 weeks without it getting too strong of a taste.
Shop this post
Silicone Spatula – I use the small one in this set
Related Posts
Butter and sourdough go hand in hand! Check out this post to see the health benefits of butter.
Let me know in the comments if keeping a small sourdough starter seems like it would be manageable for you. Stayed to for my next post in this series where I will show you how to beef up your starter size for baking.
This site contains affiliate links to products. We may receive a commission for purchases made through these links.